
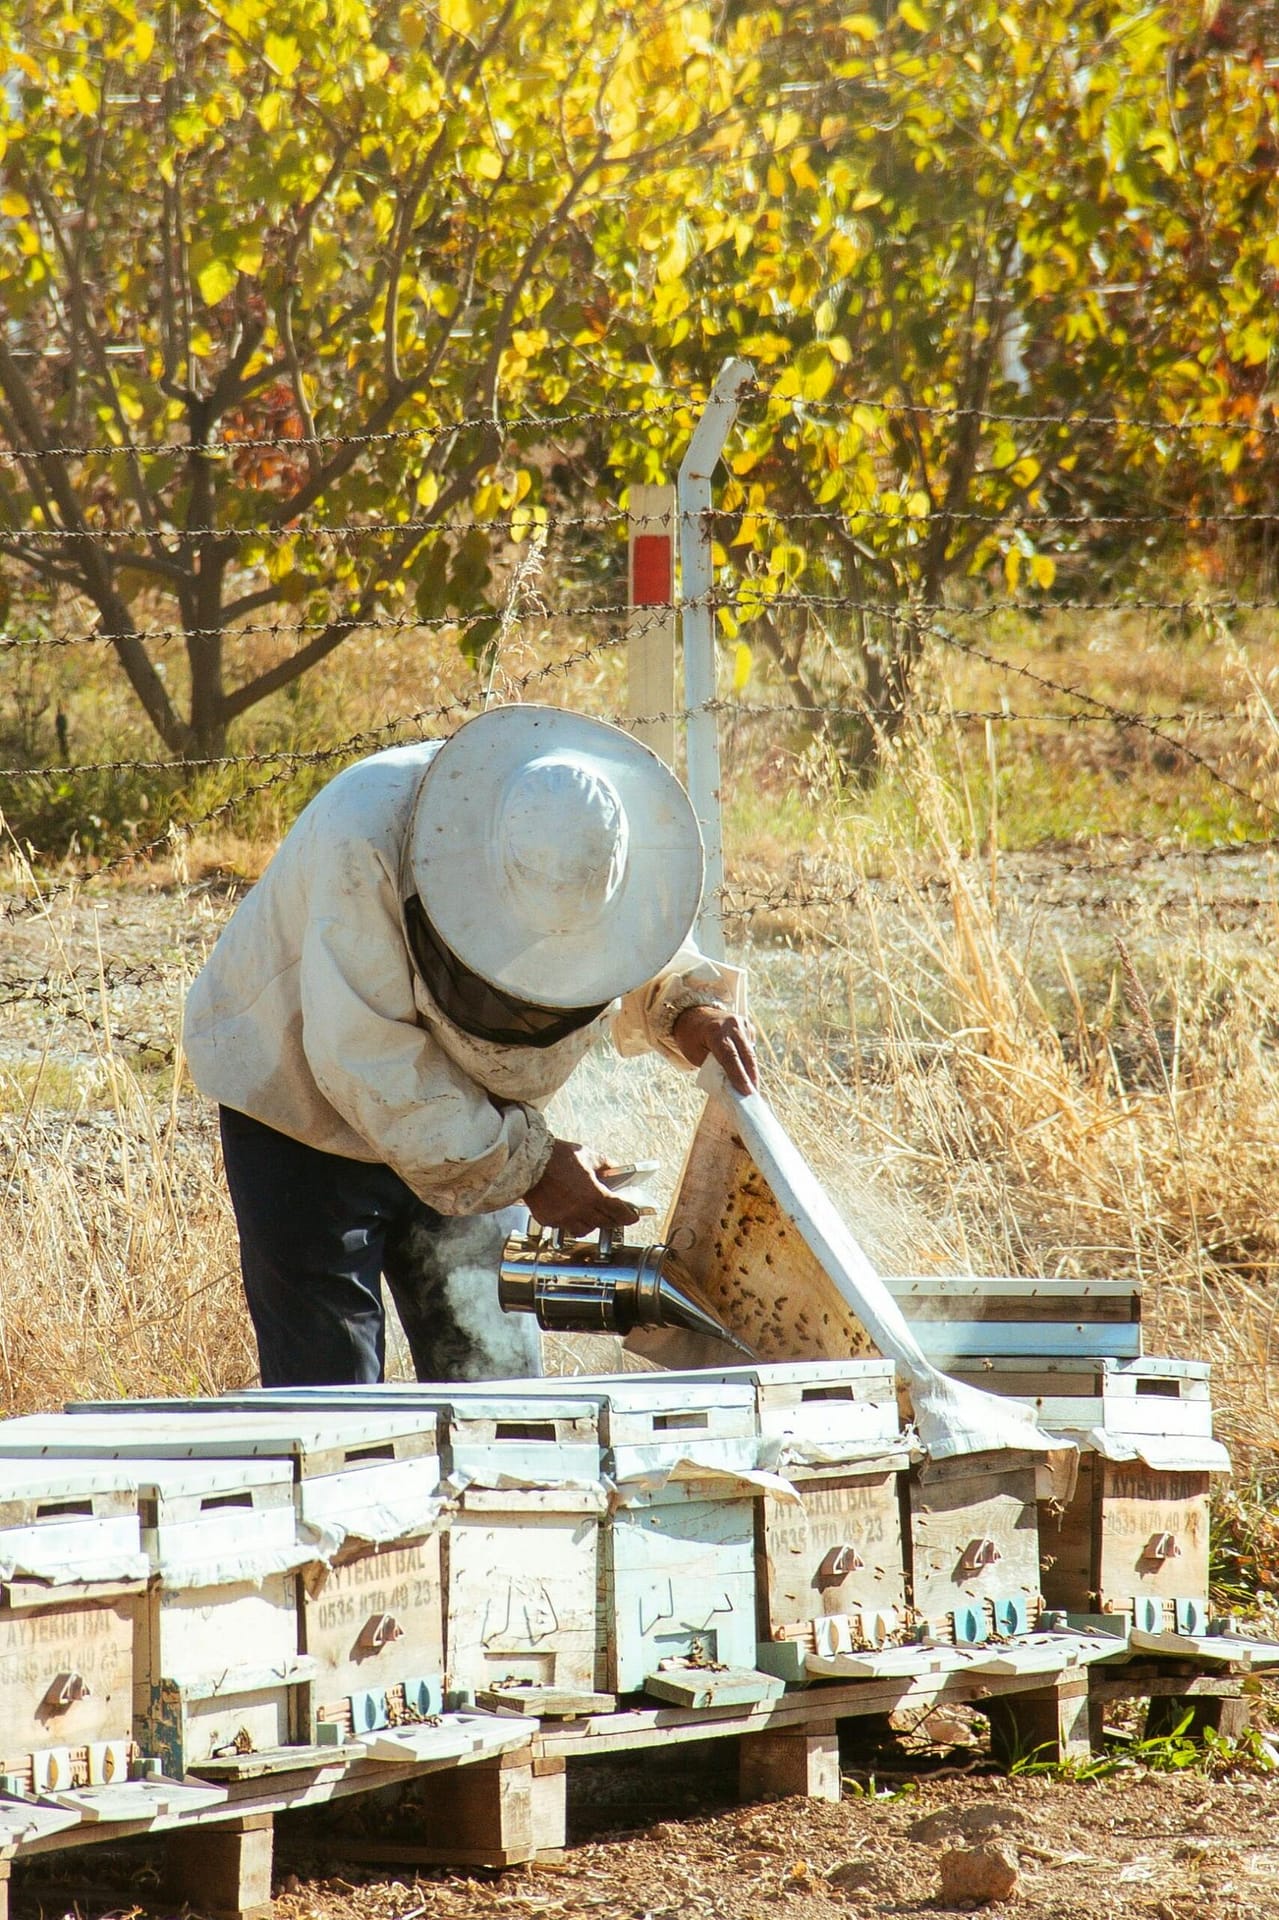
Setting Up an Apiary
An apiary is a designated area for housing beehives, where bees are kept and managed for pollination and honey production. Establishing an apiary requires thoughtful planning and execution to ensure the well-being of the bees and successful management.
1. Choosing a Location
Selecting the right location for your apiary is critical for both the health of the bees and ease of management.
Factors to Consider:
Sunlight: Choose a site that receives plenty of morning sunlight, which helps warm the hives and increases bee activity early in the day.
Shelter: Ensure the location is protected from strong winds and extreme weather conditions.
Access to Water: Bees need a reliable water source nearby; you can place shallow water containers close to the hives.
Proximity to Nectar Sources: The area should have a variety of flowering plants, trees, or crops that provide nectar and pollen throughout the year.
Safety: Position the apiary away from high-traffic areas, playgrounds, or neighboring properties to avoid accidental stings.
Accessibility: Make sure the location is convenient for you to access for regular inspections and maintenance.
Space: Allow enough room between hives for easy movement and maintenance.
2. Selecting Equipment
To start beekeeping, you’ll need essential tools and equipment to maintain the hives safely and effectively.
Basic Equipment:
Bee Hives: Langstroth hives are popular among beginners due to their modular design. Other types include top-bar hives and Warre hives.
Frames and Foundation: Frames hold the beeswax foundation where bees build combs for storing honey and raising brood.
Protective Gear: A bee suit, gloves, and veil are essential to protect yourself from stings during inspections.
Smoker: This device emits smoke to calm bees, making hive management easier.
Hive Tool: A multipurpose tool for prying apart hive boxes, scraping wax, and more.
Feeding Equipment: Sugar syrup feeders for times when natural food sources are scarce.
Honey Extraction Tools: Includes an extractor for spinning honey out of combs, jars for storage, and strainers.
3. Assembling Hives
Once you have the location and equipment ready, you’ll need to set up the hives properly.
Steps to Assemble and Place Hives:
Assemble the Hive Boxes:
Start with the bottom board, which forms the base of the hive.
Stack the brood boxes and supers according to your hive design. Ensure the boxes are securely fastened.
Place frames with wax foundation inside each box.
Install the Inner and Outer Covers:
The inner cover provides ventilation and protects the hive from excess moisture.
The outer cover shields the hive from rain and weather elements.
Elevate the Hives:
Place the hives on stands or bricks to protect them from ground moisture and pests like ants.
Ensure the hive entrance faces away from prevailing winds and is easy for bees to access.
Introduce Bees to the Hive:
Obtain a colony through nucleus colonies (nucs) or package bees from a reputable supplier.
Gently transfer the bees into the hive, ensuring the queen is safely introduced.
Monitor Initial Activity:
Observe the bees’ behavior to confirm they’re settling in, and ensure they’re actively foraging.
Additional Tips for Apiary Success
Regularly inspect hives for signs of health, pests, or diseases.
Avoid disturbing bees unnecessarily, especially during colder months.
Plant bee-friendly flowers and avoid using harmful pesticides in the area.
Setting up an apiary is an exciting venture that requires careful preparation and commitment. With a well-chosen location, the right equipment, and properly assembled hives, you’re setting yourself up for a rewarding experience in beekeeping.